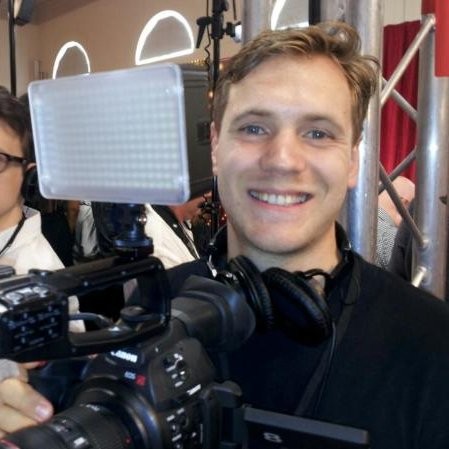
In this interview with Daniel Bennett, videographer, we discuss how to get the best results in a lightboard video.
Lightboard technology is not new: it was developed in 2013 by Michael Peshkin, a professor of engineering at Northwestern University, Illinois, USA. We acquired our lightboard in 2019 to support students’ learning in our lecture videos, but almost immediately we had to close our studio due to COVID-19. We’ve been itching to put the lightboard to good use now that our studio is open again!
Dan has been producing videos for our new MSc Cyber Security, with Dr Konstantinos Mersinas from Royal Holloway, University of London and here, he shares what he has learned.
We got a #lightboard just before the first lockdown so we had fun this week testing it out for the first time. Here’s our videographer Dan doing a trial run and finding how tricky it is to keep out of the way of the text! pic.twitter.com/Nz22wfX4mP
— Online Education, University of London (@UoLOnlineEd) February 18, 2022
What is the lightboard? How does it work?
The lightboard, sometimes called learning glass, is used in educational videos. It allows the instructor to face the camera while writing or drawing onto the glass. It works well for explaining processes, models and diagrams – making it ideal for use in technical subjects, like Cyber Security.
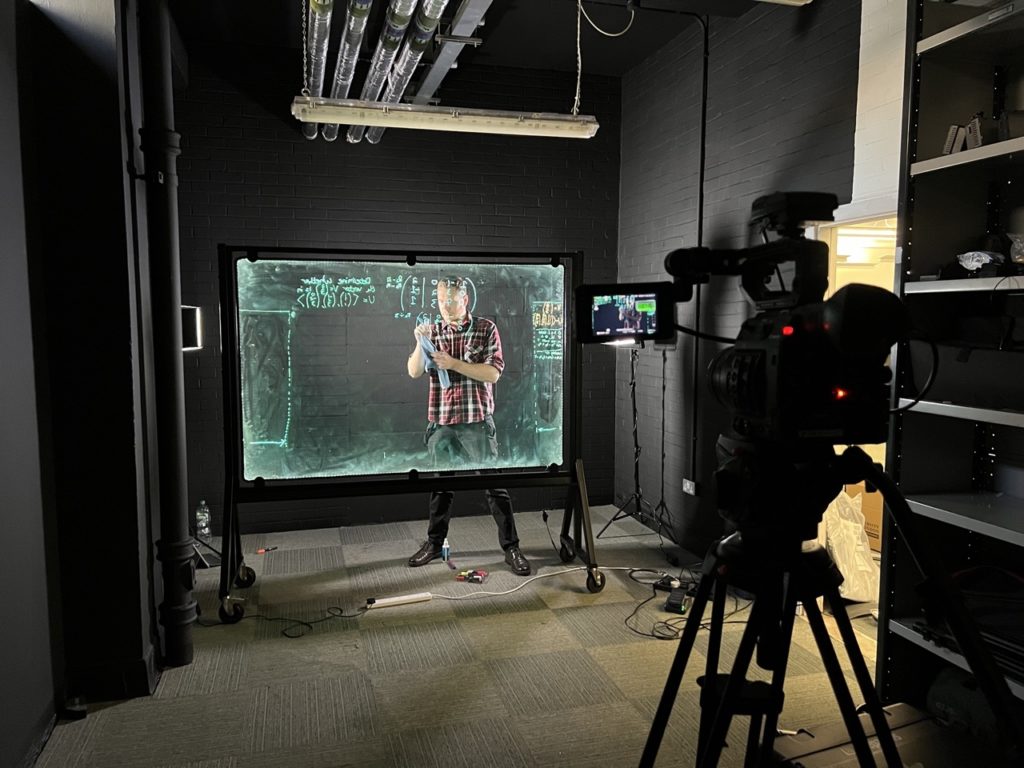
It’s made up of a big pane of glass suspended in a metal bracket, illuminated by a strip of LEDs around the edges. You write on the glass using fluorescent pens and when the LEDs are turned on, the ink is illuminated and can be picked up by the camera.
Do you have to write backwards?
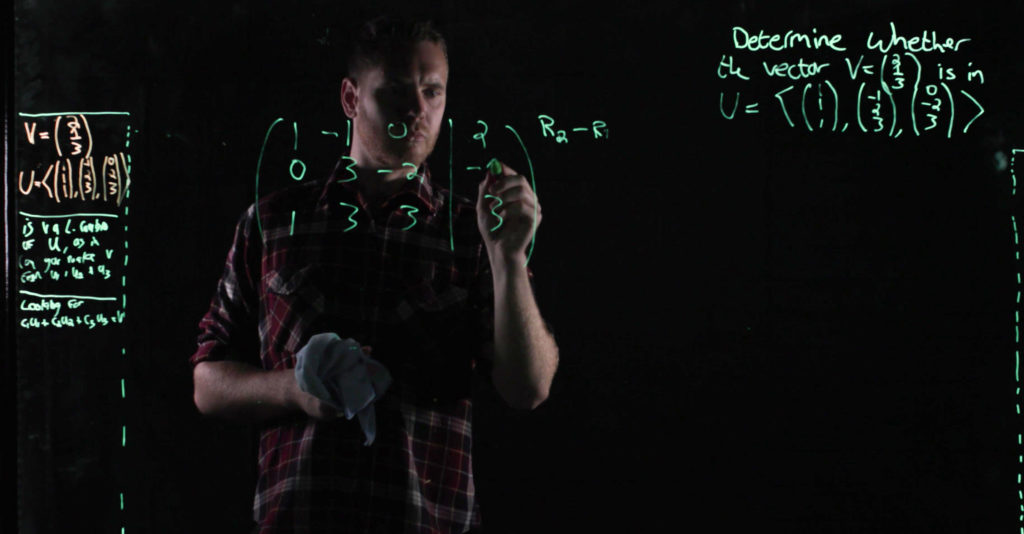
No! This is a common misconception. You can write on the glass in the normal way then. Then, in post-production, we flip the video so that the writing appears the correct way round.
What were your first impressions of filming with the lightboard?
I hadn’t filmed with a lightboard before and I thought it would be quite difficult – especially thinking about how it would work in the edit during post-production. For example, because we’re not working with any scripts, if a mistake is made it’s really hard to remember where to restart filming from.
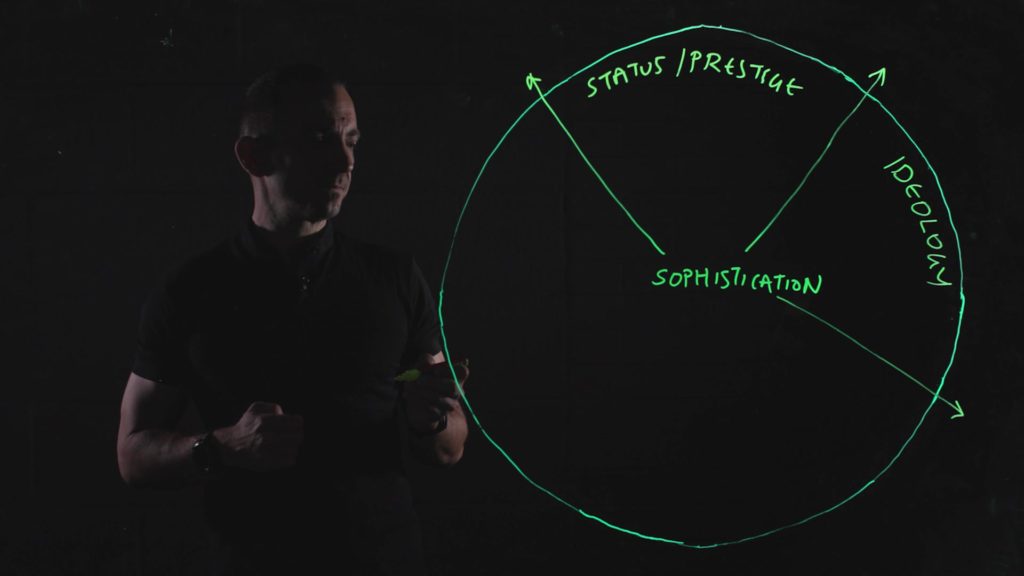
A way around this was to break down the video into discrete chunks. For example, in one of the videos, Konstantinos was using a segmented circle to explain a concept, so we split the recording into five segments. We agreed that each segment should be recorded in one take without overlapping into the next segment, going around the circle in a clockwise fashion. This way, if he has completed the first, second and third segments of the pie but then makes a mistake on the fourth segment of the pie, the worst case scenario is that we go back to the start of the fourth segment as opposed to having to start from the top!
In addition to this you have to remember what can be erased from the board and what has to be left, so there aren’t any continuity issues in the video. Chunking the filming into segments made this easier, too.
How did the instructor get on with using the lightboard?
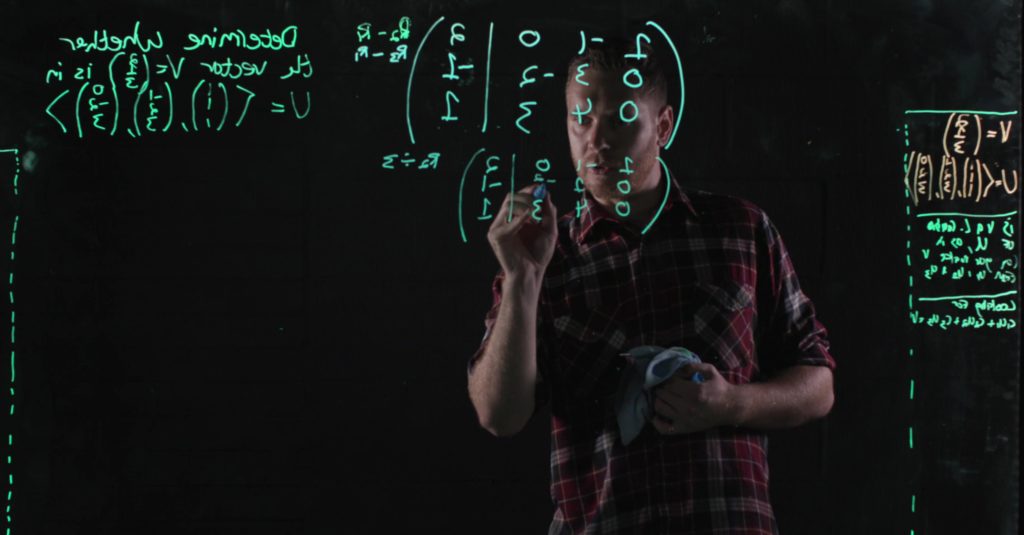
I think/hope he liked it! It was a bit of a challenge to choreograph actually because, when the instructor is writing on the board, their body can obscure the image, making it difficult to read. So I asked Konstantinos to step aside from the diagram when he had finished writing, so that we could see both him and the diagram clearly. It took a couple of practices but we got into the rhythm eventually!
What do you think works well?
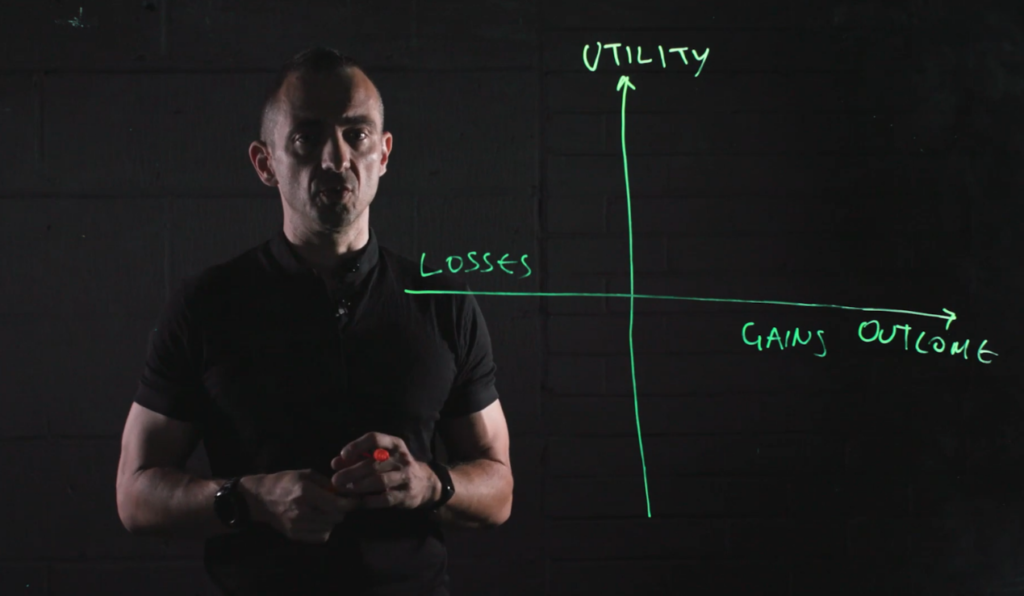
I do like how it made explaining certain concepts easier to understand! Unlike using a blackboard or whiteboard, the learning glass allows the instructor to face the learners while they are speaking. It’s very engaging to watch. For example, if you compared Konstantinos explaining how an s-curve looks in front of a green screen with drawing it on the lightboard, I imagine it would make it easier for students to understand what he’s saying.
I also quite liked the lighting arrangement we used. We couldn’t light straight on, because that would be reflected in the lightboard, so we had to light from the sides – which resulted in quite a cinematic / Bohemian Rhapsody-esque look!
What did you learn from using the lightboard?
I learnt quite a lot!
1. Mistakes are ok
It isn’t necessarily a problem to include ‘mistakes’ in the video. In fact, that makes it feel more human. I think that I was so focused on making sure that I would be able to coherently edit the footage, without the aid of scripts and slides (which we would usually have), that I lost sight of the primary function of the board, which is essentially a more informal, conversational way of explaining things.
For example, instead of trying to get perfectly performed discrete chunks as I had originally planned, we could have perhaps chosen a less restrictive approach by having a continuous take and allowing Konstantinos to correct himself, erasing things off the board to make room etc. as needed.
In this way, I imagine it’s much more similar to teaching in a face-to-face classroom environment.
2. Pens matter!
Some of the pens we’d bought weren’t suited to the job. In some of them, the ink faded after writing a sentence or two. And they were very squeaky!
We worked around this by alternating the pens we were using – which turned out to be a happy accident! By using different colours we could identify the different elements much more easily. Having said this we found that some colours were much better in terms of luminosity than others.
3. Board height
Another issue I found was that the height of the board is fixed, and Konstantinos is quite tall, so at times it looked quite awkward for Konstantinos to write on it. We will have to find a way to accommodate people of different heights for the future.
4. Cleaning glass is tricky
The lightboard glass is actually quite difficult to clean. The lighting and camera pick up every smudge. Using newspaper to rub off the writing is a good approach.
What plans do you have for the future of the lightboard?
I think it has a lot of potential! It will be a massive time saver for things like writing out equations or plotting graphs, like Konstantinos did.
The reason I say this is because I imagine it’s far easier to illustrate difficult or abstract concepts on the board as you explain them in real time, rather than trying to draft something in PowerPoint, which then needs an accompanying script, which then has to be formatted and designed by our motion graphics designer and then edited into the video. There are quite a few steps involved here that could introduce errors or misinterpretation into the final diagram.
I’m looking forward to trying it out with instructors in different subjects!